These pages are meant for my students and close clay friends. Please do not reproduce without permission!
11/30/2020
I’ve been making earrings lately, both for Sculpey and for the fun of it. Now I do not wear earrings because I have a helix tattoo so that I don’t have to wear earrings. LOL It seems odd for a jewelry maker to not wear her work, but I *used* to swim (pre Covid) 3x a week and I was too lazy to deal with taking jewelry on/off. NOTE: I do wear my extruded Soufflé bracelets in the pool though.
Anyway, there are few tricks that I thought I would share with you all.
First, I almost ALWAYS drill my clay after baking. That way I can redesign right up until the moment of drill to clay…and YES, I often change my mind. Since I tend to work mostly in Sculpey Soufflé and that clay is a dream to drill-it’s quite easy. I use this hand drill:
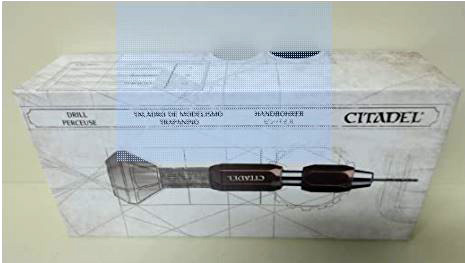
This drill fits the hand so well and it comes with its own set of VERY small drill bits, since it is designed for very small gaming models.
I have several small pieces of wood that I use to drill on – instead of drilling into my finger or dulling a bit by drilling onto a glass or tile worksurface.
When I have to line up top and bottom holes in a piece, I have discovered that I can put a small index card (or a piece of one) on the piece of wood and line my first hole up with a line and BOOM! There is my center bottom drill hole on the same line. (I can’t believe it took me THIS long to figure this out..) In fact, on a large piece of wood, I could lay out all the components for the earrings and line them up to drill. (Running to the scrap wood pile to see what I have for this!)

I tend to create my components on a middle setting on the pasta machine – on my Atlas 180, I use a 3 usually. Then I can space the holes for using a 8 mm jump ring without getting TOO close to the edge of the component.
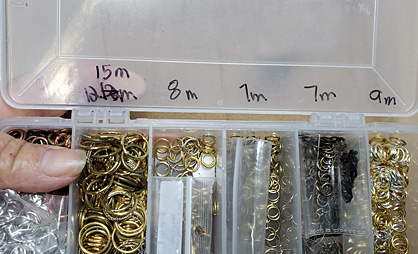
Oh! If you collect findings like I do, and/or you write tutorials like I do- this is handy:
Most of the earrings being shown and (I assume) sold right now are post earrings. While I understand that most of the findings no longer contain Zinc, do use the best you can if you plan to sell your earrings. Rings n’ Things is a great source for quality findings.
I also learned from a chain mail artist to use TWO pair of the SAME pliers to open/close jump rings. I have heard arguments for and against this thought – but it was a game changer for me.
So how to affix the post to the clay in a solid, permanent – but neat way? I would NOT suggest to just glue it and hope for the best. There are some easy solutions that are also pretty neat.
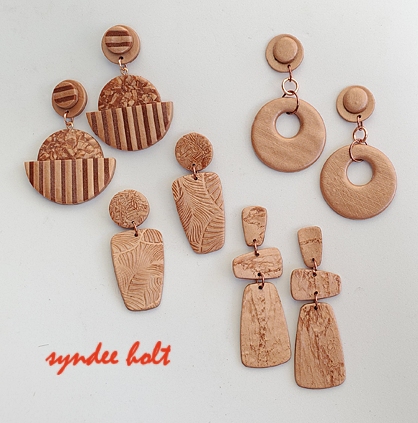
The first – sandwich your post finding between two layers of clay. I’ve tried the using two layers the same size and smooth technique. I didn’t like it. Requires sanding UGH! My solution? Two different sizes. Cuter and easier.
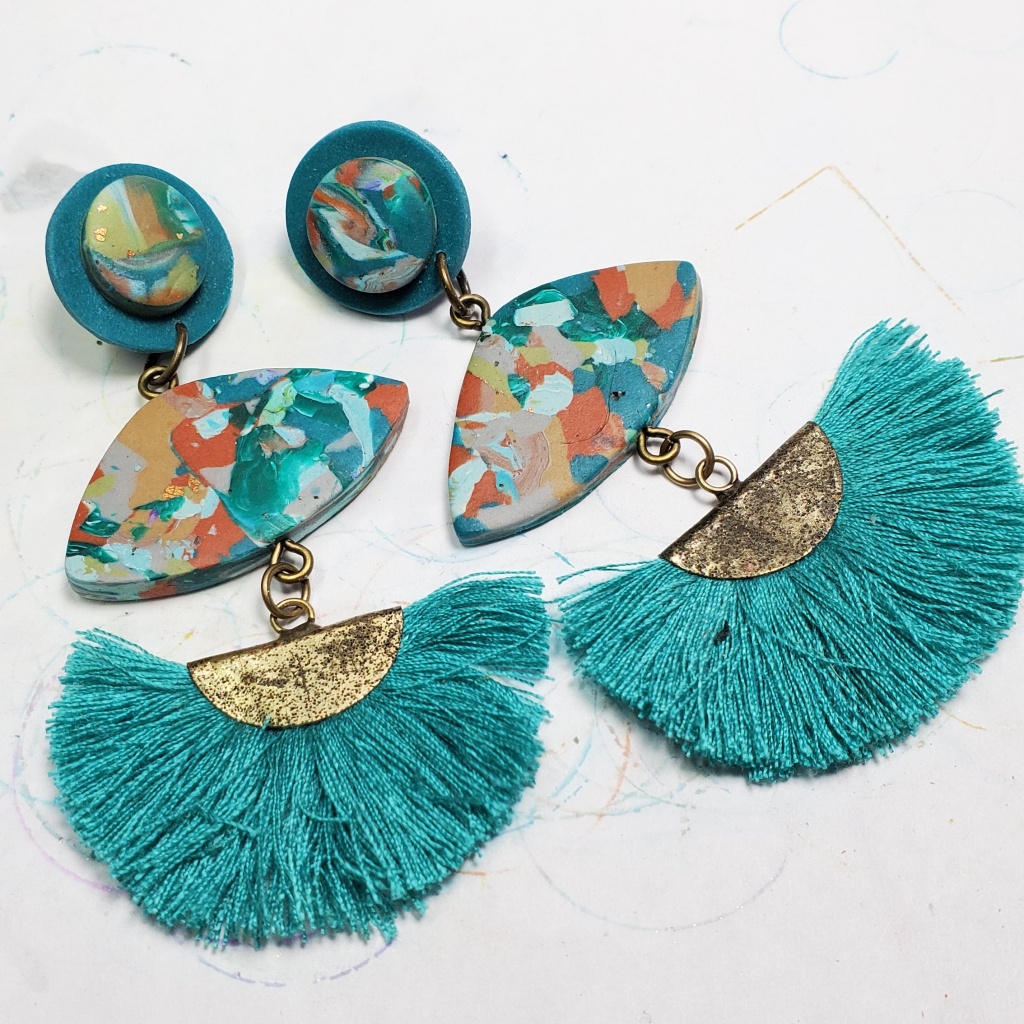
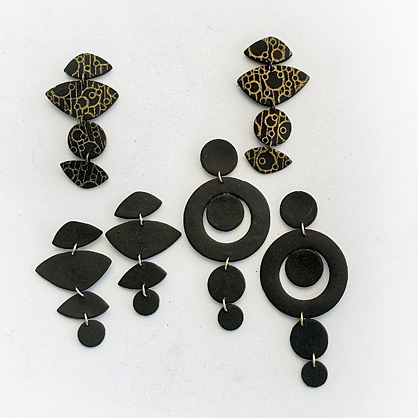
So the flat part of the post is between these two layers of clay with a small dot of Sculpey Oven Bake Adhesive (formerly called Bake n’ Bond). I can hear ya’ll saying, “but syndee, how do you bake those?” This is why I have a nice little box of cardboard gleaned from all my Amazon purchases! Just make a double stack of two small pieces of cardboard. Tape them together and use the a needle tool to pierce them – spaced about an inch apart. I used my Etch n’ Pearl point to make my holes so I could find them! Then I can just carefully drop the post part of the earring into the holes to bake and my clay stays flat.
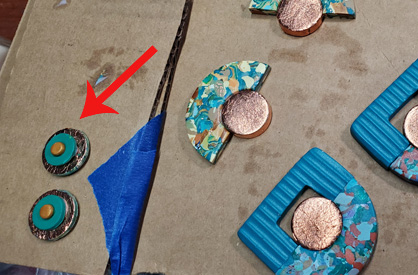
Oh! Notice the dark marks where the plasticizer leached? That is because that small semi circle was coated with a thin layer of Oven Bake Adhesive (OBA) before I pushed the foiled circles into place. Even the two different segments of the earrings in the bottom right corner had a coating of OBA before being firmly positioned together. Then I let this card sit overnight before baking so that all those lovely plasticizers could mingle together and form attachments. BUT, just before baking I carefully moved each piece so that the pieces wouldn’t bond with the cardboard. This photo was taken just before going into the oven.
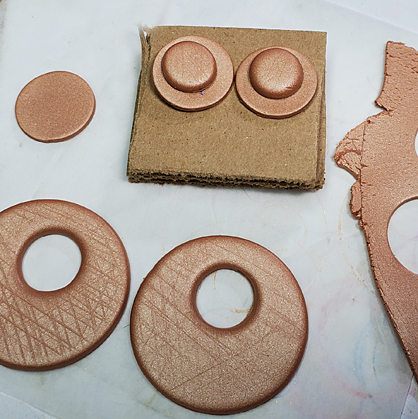
Here is another of my small cardboard constructions to hold the posts. These are actually glued together, but I found that the tape works as well.
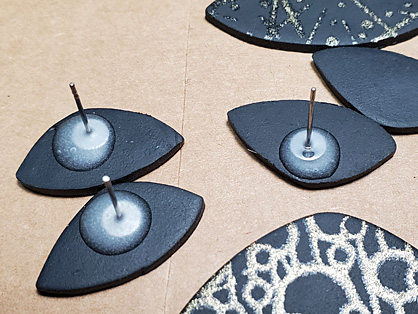
So what if you don’t want to have a doubled top portion of your earring? I submerge my post in the OBA. OBA, or Oven Bake Adhesive, tends to be pretty thick. So just put a drop (about the size of the post) where you want the post. Then gently press the finding into the drop of OBA. LET IT SIT A MINUTE! The OBA will flow over the post and seal it quite nicely. Then bake it face up! Ginger at the Blue Bottle Tree has an extensive (and excellent) blog about earring construction, including this technique. After baking, these posts are going NOWHERE – and OBA is kind of cushy after baking, so they are pretty comfy as well!
I’ve mentioned before, but I will mention again – I shoot my post earrings on sheets of that inexpensive kids craft foam sheets. I can poke the post through, secure with the back on the other side. And then I just hold up the foam and shoot. As an added bonus, it has a soft texture that mutes all reflections. I can reuse the holes on the next shoot or easily clone them out in photoshop (but I don’t bother for IG – because they are too small to see on a phone).
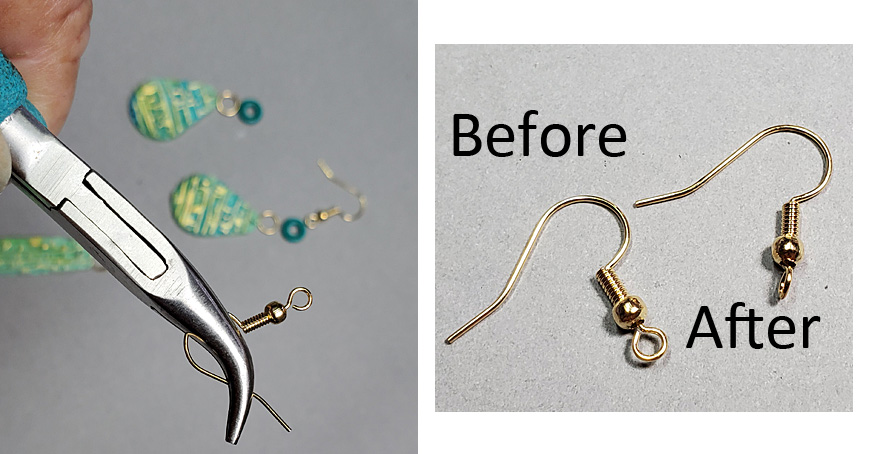
So what if you don’t want to use posts? Ear wires are an easy solution. BUT – have you ever had a dilemma where the attaching loop on the ear wire was facing the wrong way? A wickedly simple solution comes via my friend, Randee Ketzel – turn the loop. BUT – if you have tried this, the chances are the loop broke off immediately. That’s why Randee says to heat the loop for a couple of seconds with your heat gun and turn the loop while it is hot. Works like a charm! Again, two pair of pliers is handy for this little operation. One set holds the wire as shown below. The second set turns that hot loop immediately after heating it. Make sure to set this down in a secure place to cool for a minute!
Of course, you can make your own ear wires as well. There are some nice ear wire jigs on the market that are pretty easy to use (I can do them-so they are REALLY easy). Artistic Wire makes several different jigs that are available on Amazon.
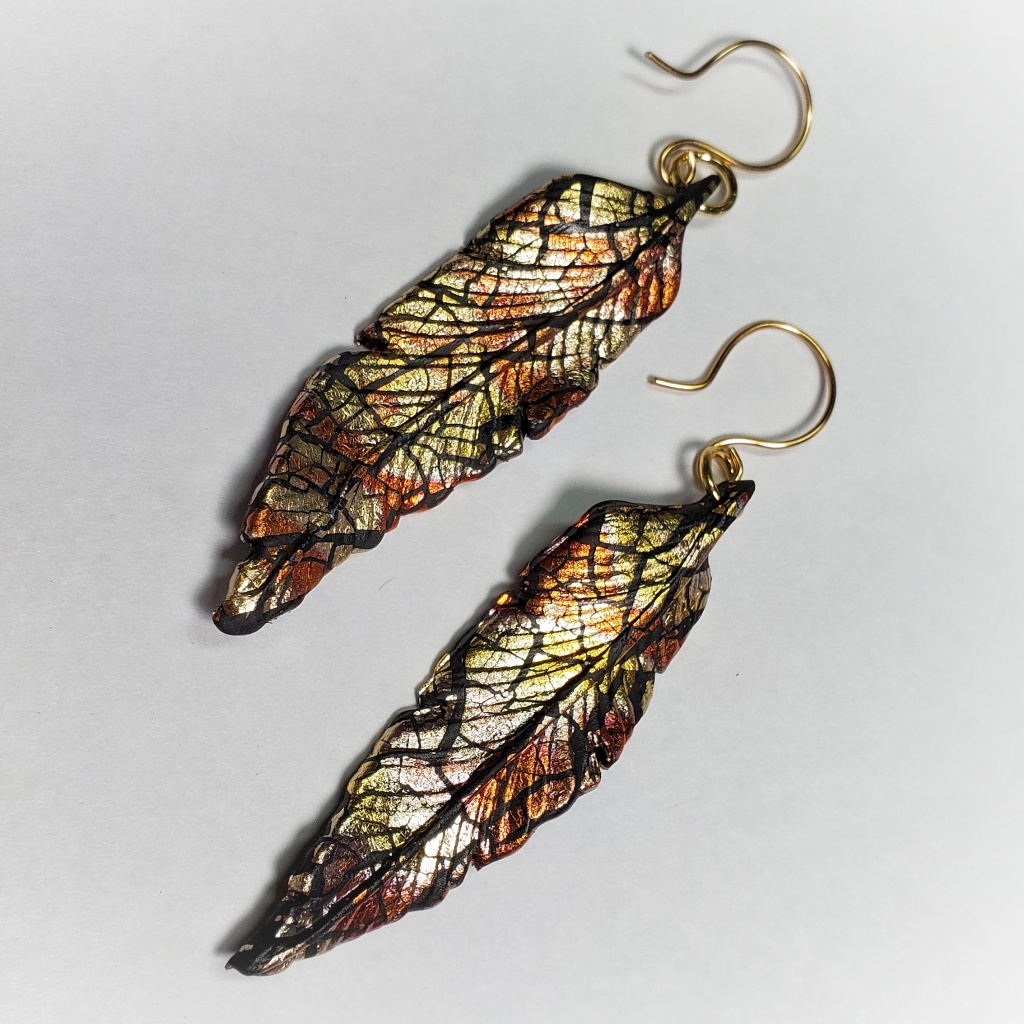
Yes, you should round the end of the wire with round cup burs. I just bought a small set of burrs from Amazon and put them in my small cordless drill. Works great!
Okay, that is all the tips I have for now. I will probably continue to create these earrings that I can’t use until my daughter-in-law in Japan tells me to stop sending them to her!
xoxo, syn
