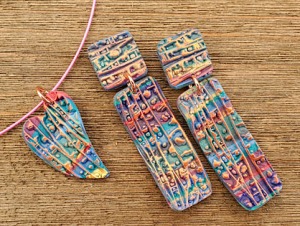
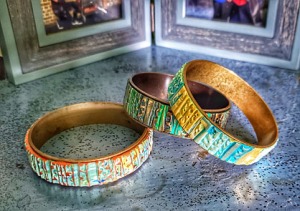
 Got some nice scrap clay? I love to play with my scrap clay and this is a quick technique (of course!) that I use a lot!
NOTE! Remember I said that the pendants on the right are from NCT mixes? So they all have a small amount of ONE color linking the original colors. If you don’t have scrap clay, you can take like 3 colors, mix a small amount of a 4th color into each and then use the mix colors and the original colors as your “scrap”. They will all go nicely together because of the link between the 3 colors and the mix color.
You will need:
- Scrap clay (OR 3 colors plus a mix color)
- Clay blade
- Pasta machine
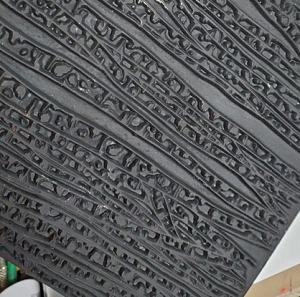
- Texture stamp of your choice, mine is a Judikins 2277J Birch Trees
- Channel bracelet or cutters for pendant and earrings
- Pearl Ex in a contrasting color
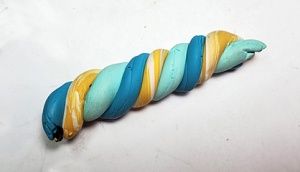
Take your scrap (add a contrasting color if you need to) and twist it until the stripes are almost vertical. (Do as I say, not as I do – as my mom would say – I didn’t get these very vertical).
Step 2
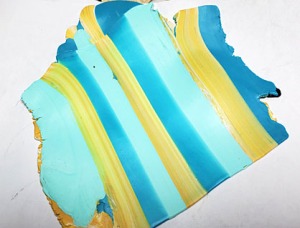
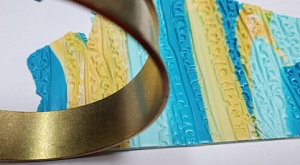
Flatten the coiled clay (use an acrylic roller if you need to) and run it through the widest setting on your pasta machine to create these funky stripes. Set the pasta machine to a medium setting and roll through again with the stripes vertical.
Texture your clay! YES you have to decide which way the texture pattern should go. I usually elect to have it run at 90 degrees from the stripes on the clay.
Also, don’t forget to lightly spray that texture with water.
AND…I put the clay on a sheet of paper, the sprayed texture on top. Then I fold the paper over to make a clay sandwich. Then I put it on my concrete floor and STEP ON IT – from all 4 sides. Then I open the sandwich and eat..er..use the good stuff!
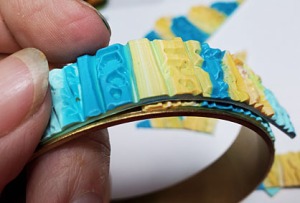
I measure for my bracelet and cut. Yes, I do have to piece it in, but it is pretty easy with this pattern.
Step 5
See? That easy to see where to cut and splice..
Step 6
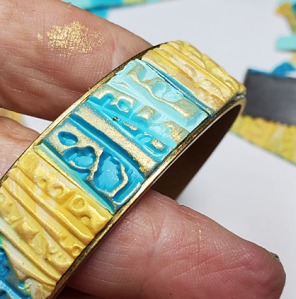
Pearl Ex time! Apply only to the top surfaces of the texture.
Then bake. Once it is cooled, you can use a Sculpey Glaze to LIGHTLY glaze the top of the texture where the Pearl Ex is.
