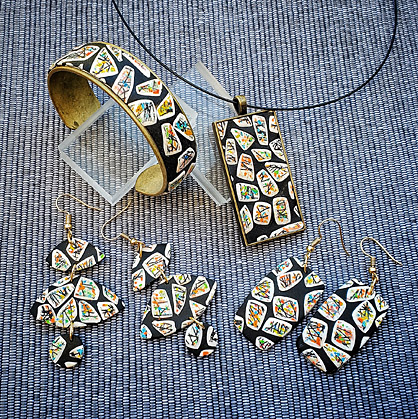
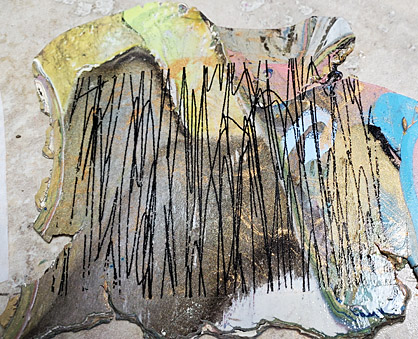
This fun little technique is a great way to use up small pieces of scrap clay. It does NOT have to be a new sheet of clay at all! My Scribble transfers are the perfect way to show off the colors you build with the pastels.
This is a great little project to apply to any of your sheeted scraps! I am making some multi-colored small sheets of light colored Souffle clay (it’s actually recycled Igloo with little bits of the pastels mixed in – so a warmish white color?)
What you would need to do this project:
- A small sheet of the light clay about 3×3 inches on the #3 setting (Atlas 180)
- Another sheet of clay on #3 that is one of the colors of the pastel or black
- Regular clay blade
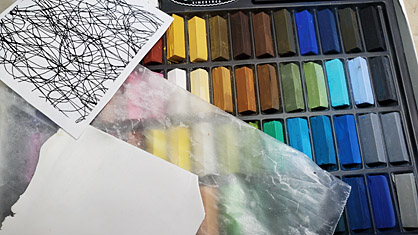
- Soft pastels in your chosen colors – it can be 1 color or more
- Small spray bottle of Rubbing Alcohol
- Small bottle of CLEAR hand sanitizer
- Laser printed black and white transfer that has lots of open spaces on it – you can print out my artwork here: https://synssculpeyblog.files.wordpress.com/2019/05/scribblepack1.pdf (NOTE: use the small square images)
- A couple of sheets of small paper (I use Patty Paper)
- A small sheet of waxed paper
- Cutters in your favorite shape
- Matte sealer – I like DecoArt Ultra Matte and a brush dipped in water before dipping into the Matte
- OPTIONALS:
a Coffee tamper, 1 inch or 1.5 inch silicone brush
Okay, sheet that clay out on the medium thin setting (again, #3 on my machine). Place it on a small piece of waxed paper (my preferred transfer base). Trim your transfer to fit the sheet of clay.
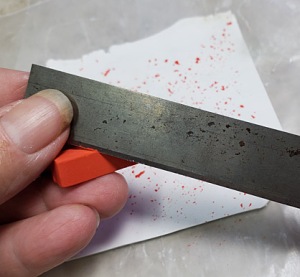
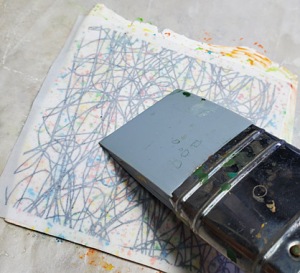
Use the sharp edge of the clay blade to gently scrap across the pastels and add whatever colors you wish to your clay. There is no rhyme or reason to what colors go in what order!
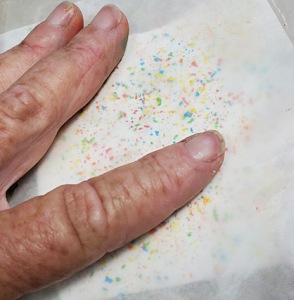
Lay a small piece of clean paper on top and gently rub the pastels into the clay sheet a little more.
NOW THIS PART IS OPTIONAL!
I like to lightly spray the surface of the clay with Rubbing Alcohol to let the pastels soften and blend into the clay a little.
While that sheet of clay is still wet with the alcohol, mount the transfer to the surface. I find that wet alcohol surface really grabs the transfer well and *may* help/speed the process. MAKE SURE THAT THE ENTIRE SURFACE OF THE PAPER IS DAMPENED AND IN CONTACT WITH THE CLAY!
Either use your fingers or a silicone brush like mine to rub out any air bubbles and make sure that the contact is 100% At this point you can use the Hand Sanitizer to moisten the paper as well. Then it is a waiting game – allow the paper to dry out almost completely (it will get more opaque). Reapply the Hand Sanitizer and allow it to almost dry out again. How long this process will take is entirely dependent on the conditions in your studio. Warm, dry weather is amazing. HOWEVER, I’ve used the same block of clay and the same sheet of transfer and had entirely different experiences from one day to another…SHEESH!
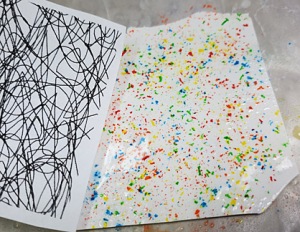
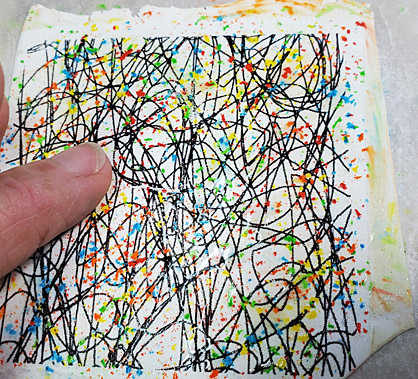
Carefully peel up the paper SLOWLY. This way you can lay it back down and rub any areas that haven’t transferred to your liking yet.
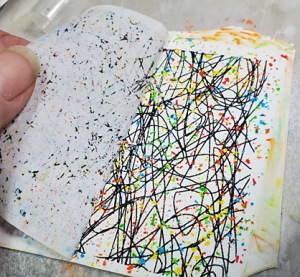
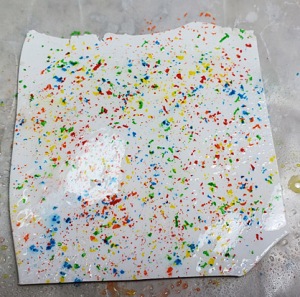
Allow the sheet of clay to rest and dry completely. OR… lightly spray the surface again with the Rubbing Alcohol and gently tap with your finger (DO NOT RUB) to further blend the colors and make a more graffiti effect.
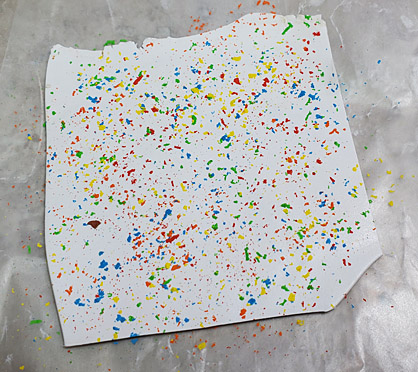
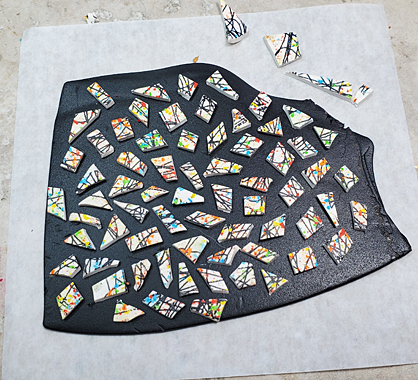
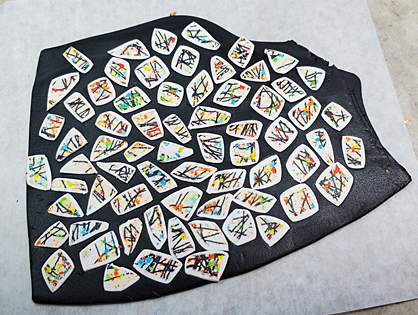
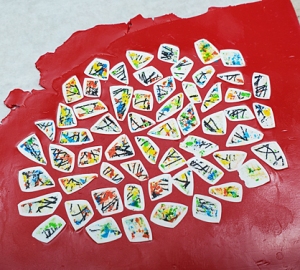
Now, once that sheet has dried out, you can start to slice strips of the clay off and chop them into smaller pieces to add to your background sheet. Note that the sheet of clay is on a clean small sheet of paper. Do NOT let them touch!
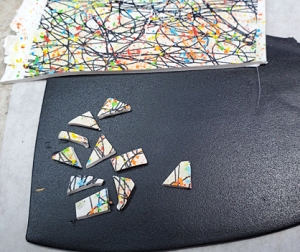
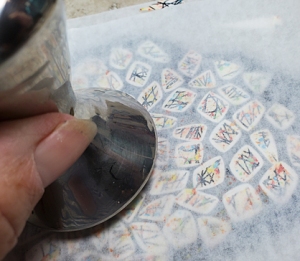
Add another sheet of paper on top and either use the coffee press (like me) or a small block of some sort to press STRAIGHT DOWN – DO NOT RUB! An acrylic roller can be used by sliding it across the paper, not rolling.
Peel off the paper and admire your new veneered sheet of clay! Gently peel the paper away from the back of the clay sheet (NOT THE CLAY FROM THE PAPER)
Now get busy with those cutters!
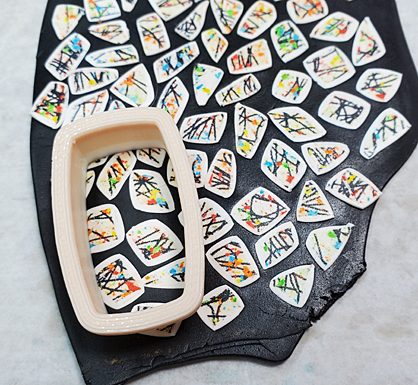
Once the clay has been baked, I like to seal the pastels with Deco Art Ultra Matte. I dip my brush into water and then just the tip of the brush into the sealer (it tends to be THICK).
OKay a lil bonus here…
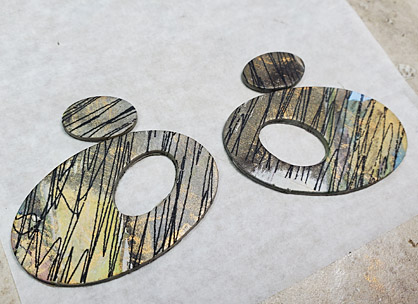
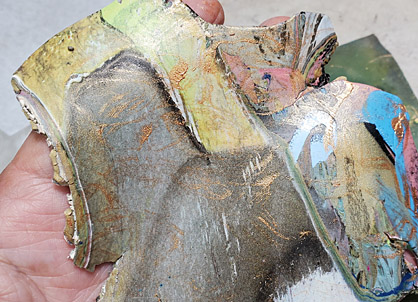
Sometimes when I’m mixing my scrap and sheeting it out, I really like the different color palettes and movement I get. So I use that sheet as well!
You will notice the bits of gold on the sheet? Because I used my gelli plate to quickly swirl some gold acrylic paint on it.
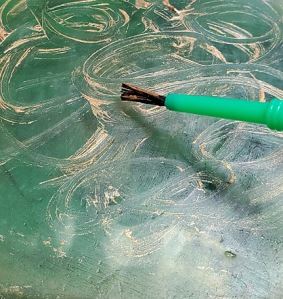
Using a Gelli plate in this manner is NOT rocket science! I just swirled some gold paint and and quickly pressed the sheet of clay to the gelli plate and then cleaned the plate with a baby wipe while the paint dried (fairly quick because it is so thin).
Then I just used a squiggle transfer over it!
Sculpey nested Oval Cutters created the shapes for me! And these are ready to bake!
