 These pages are provided to my students and close clay friends. Please do NOT put these links out on social media! While I realize that this is still a public page, it’s really for our use only. PLEASE do not teach this project without my permission! THANKS
So let’s have a refresh on how I do these.
First, these are loosely based on Kim Korringa’s Vimeo tutorial that Cynthia Tinapple posted on Polymer Clay Daily.
Except I didn’t want to use scrap clay..
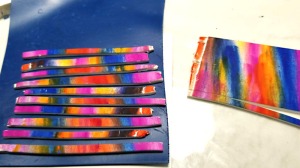
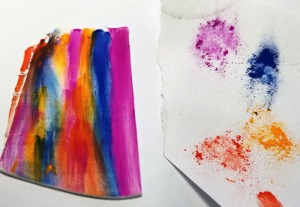 I wanted big, bold colors, so I start with Souffle Igloo clay (on second from widest setting) and add pastels. I generally swipe it in strips, but I do blend the colors and I *try* not to have the same color on each end. These are inexpensive pastels from Amazon, but, of course, you can use your Pan Pastels!
Then I make a a thin layer of a Premo color (can be Souffle as well). I cut the pasteled sheet into strips (different widths) and lay them out of this sheet of clay. NOTE: You can cut your sheet from both sides to get more variety. You can also stretch the strips slightly.
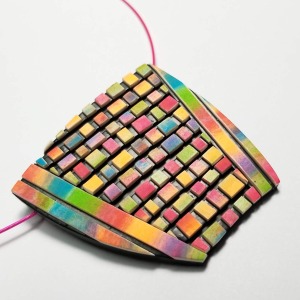
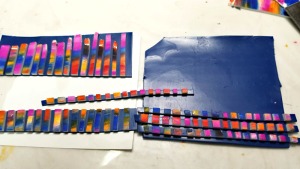 Rotate that sheet 90 degrees and cut in strips again to make the little awkward squares. These are then put onto a #3 (middle setting) piece of clay. See how I cut in the middle so I could get more of a variety?
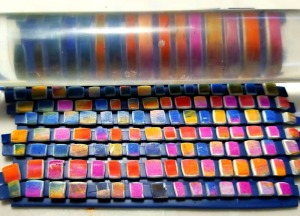 Use your roller to press lightly into place. If you press a LITTLE firmer, you can flatten the squares and get a cool little white frame around each square.
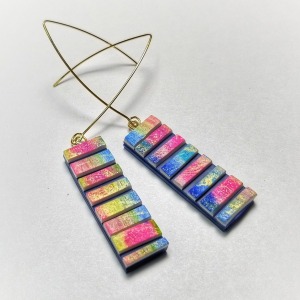
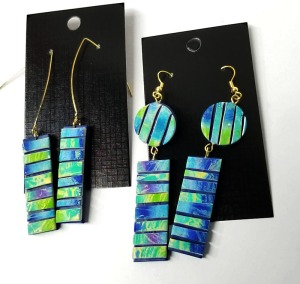
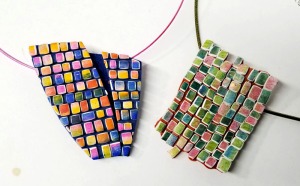 Alright, cut out your pendants and earrings!
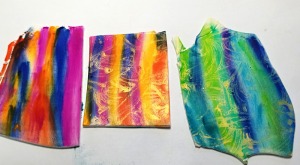 Want more tricks? Try using the gelli plate to add hints of gold either BEFORE or AFTER the pastels. The middle sheet is after and the right sheet is before.
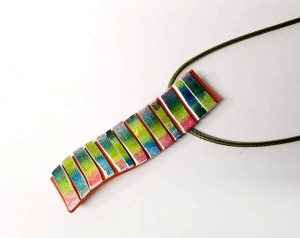 I like to leave these in strips. The pendant was baked on the Hollow Bead Maker using the bumps to add an interesting shape to a simple rectangle.
Alright, get busy!

