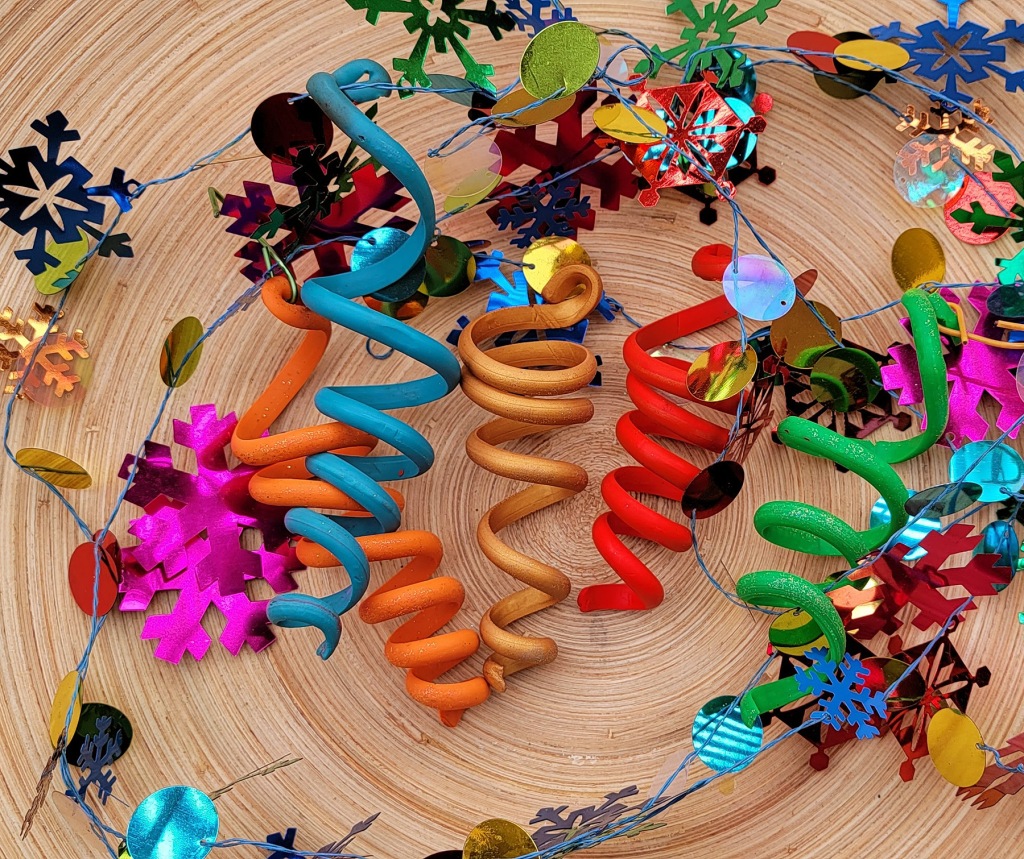
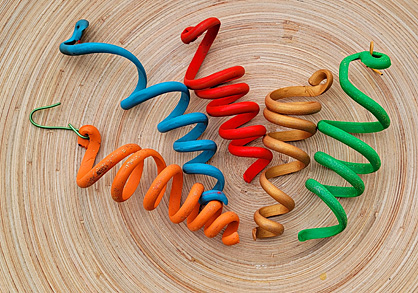
I live where the holidays mean long walks on the nearby beach in 70 degree weather. All those cute little holiday snowmen and snow scenes ornaments just don’t seem to fit our beach lifestyle. One day, many years ago while supervising my middle school-aged son create yet another biology model in clay, I had revelation – if we could do the DNA double helix in clay ribbons, why not make coiled ribbons for the tree? Polymer clay (especially Sculpey Soufflé™) even makes the ornaments light enough for the smallest trees. Now more bowed branches, no more crashes in the night when the cat knocks the glass ornaments off the tree!

Sculpey Premo™
You will just need a clay extruder and small bits of colors (or even scrap). If you don’t have an extruder, you can roll out layers of clay and cut clay thin strips.
Then just some stiff paper (I like index cards), some tape and scissors. Of course, you can also add some oven bakeable glitter. I have several of these that have glitter THAT I DID NOT SEAL after baking and the glitter is fine. I just don’t overdo the application.
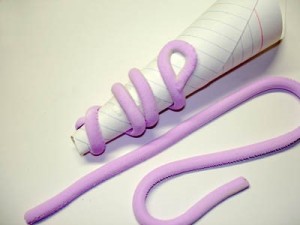
I used pieces of paper varying from 4 to 6 inches square to create my cones for the molds for my ribbons. I taped the edge together with regular clear tape. The tape does well in the oven for about 6 bakings, but by then, the paper holds it own shape. I use large index cards for work surfaces in all my clay work, so I recycled some of my messier work cards for cone duty.

Extrude your clay in the shape you like the best. I experimented with several shapes, but decided I liked the half circle the best. One full barrel of clay will yield one 6 inch ribbon ornament or several smaller ones. I also don’t worry about cleaning out barrel too much between colors, but I make about 6 of each color before switching colors.
Once you have an extruded length of clay, start wrapping it from the bottom of the cone to the top, creating a small loop of clay at the top end to accept your wire hanger.

Dust lightly with glitter if you wish. (I apply glitter at a separate work area, so I won’t have glitter in my clay work for the next three months!) If you are fickle like me, you CAN also add the glitter after baking by brushing a very light coat of Sculpey Glaze onto the ornament and sprinkling the glitter into the glaze while it is wet.
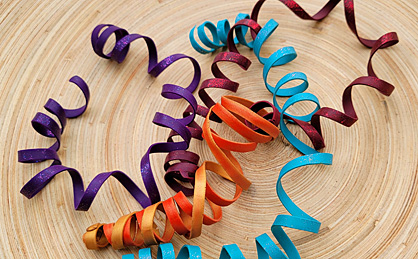
If you want to create a ribbon effect and you can roll your paper into about a 1 inch tube and tape closed. You can extrude or cut flat lengths of clay and wrap around the paper form. Wooden dowels work well too.

These ribbons are AT LEAST 17 years old and still flexible! They are also great table decorations for your holiday festivities. I’m going to use these for just that purpose this year.
This is a great project to use colorful clay scraps up. Also a great project to spend an afternoon with the kids.
xoxo, syn
