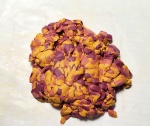
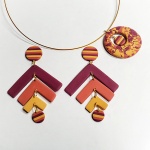
 Got some nice scrap clay? I’ve got some left from my geometric earrings, so I’m going to make a matching pendant for them using the faux terrazzo technique.
You will need:
- scrap clay
- clay blade
- 2 sheets of patty paper
- 1 sheet of deli paper (thin plastic)
- a burnisher tool – I use a coffee tamper and/or acrylic roller
- a small piece of board
- Sculpey nested Circle cutter set
- gold eye pin (or in my case one short and one long one!)
Step 1
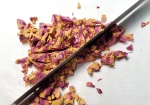 Gather your clay on a sheet of paper paper and chop, chop, chop it! Chop to very small bits.
Step 2
Step 3
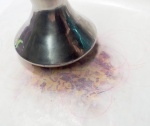 Put another sheet of patty paper on top and use your burnisher to press STRAIGHT DOWN on the clay to thin that patty. You can burnish it, but I find that it tends to “smear” that top layer and you don’t have as clean a terrazzo look. I spun my burnisher a few times just to show you. The top and bottom of the stack will look slightly different. The pieces will look larger and somewhat smeared on the top where you are pressing and the bottom will be quite sharp detail between the pieces. SO LOOK AT BOTH SIDES BEFORE CUTTING YOUR PENDANT!
Step 4
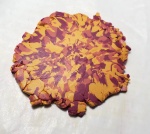 This is my top and you can see the movement in the pieces, but I decided that I like it this time, so I’m going to cut my pendant from this side. My stack is still fairly thick – like two #1 layers.
Step 5
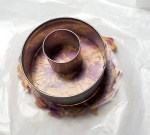 Put a sheet of deli paper (thin plastic – YES you can also use food plastic wrap) on top of the stack and position the largest and the smallest of the circle cutters on the paper. NOTE: my smaller circle is not dead center, but a little more towards the top of the larger circle.
Step 6
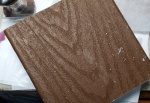 I put a small piece of board on top and push FIRMLY down on the board. You can really bruise you hand trying to push directly on the cutters!
Step 7
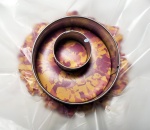 Remove the board and check it out! Beveled edges! These are round cutters, so spin them a little back and forth to complete the cut and clean the edges before remove the cutters and the deli sheet.
Step 8
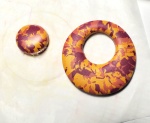 Here is my pendant and a little bonus piece! Bake according to the clay package directions. You can pre-drill your holes now if you don’t have a jeweler pin drill.
Step 9
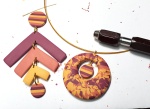 I decided to add one of the extra striped circles I had from the earrings to the center of the pendant, so I drilled all the way through the top of the pendant with my pin drill. And now I have a pendant for the earrings!
